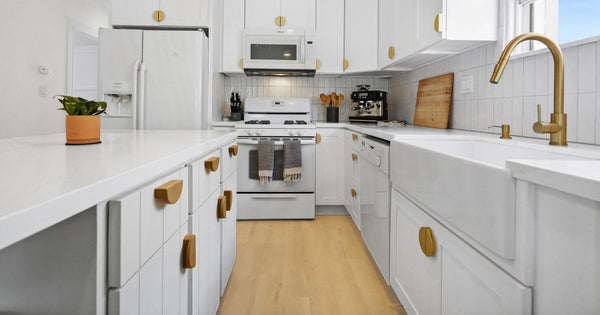
Installing new flooring yourself can be one of the most satisfying home projects—but like any DIY job, there’s a right way to do it. Whether you’re transforming a single room or your entire home, the key to success is in the prep and precision. If you're installing Flooret (or any type of flooring, really), here are five things you should always do—plus one big thing to avoid.
1. Always Start with a Clean, Flat Subfloor
This step can make or break your flooring installation. A clean, dry, and level subfloor is the foundation (literally) for a smooth result. We recommend that your subfloor be level to within 3/16" over a 10-foot span.
✅ Tip: Sweep thoroughly, remove all debris, and use a leveling compound if necessary. Even small bumps or dips can lead to floating floor issues down the road.
2. Always Remove Old Carpet (and Padding!) the Right Way
If you're replacing carpet, don’t just rip and go. Carefully cut the carpet into manageable strips and roll it up. Be sure to also remove all carpet tack strips and staples—especially near the edges of the room.
✅ Tip: Use pliers and a floor scraper to lift up any remaining staples or nails. It might take a bit of time, but it’s worth it to avoid bumps under your new flooring.
3. Always Let Your Flooring Acclimate
Flooret’s Modin LVP doesn’t require acclimation in the traditional sense, but it's smart to let the boxes sit in your home for at least 24–48 hours before installation, especially if they’ve been delivered in extreme hot or cold conditions. This helps ensure the planks adjust to the indoor temperature of your space.
✅ Tip: Store the unopened boxes in the room where you'll be installing them, laid flat and out of direct sunlight.
4. Always Read the Installation Instructions (Yes, Really)
It’s tempting to just dive in, but every flooring brand—and even different products within a brand—can have unique installation requirements. Look for specific instructions, including expansion gaps, underlayment needs, and acceptable subfloor types.
✅ Tip: Bookmark the installation docs on your phone or print them out so it’s handy while you work.
5. Always Leave Expansion Gaps
Flooring expands and contracts with temperature changes. You’ll need to leave a 1/4" gap around the perimeter of your room (and around fixed objects) to prevent buckling.
✅ Tip: Use spacers during installation to ensure consistent gaps, then cover them later with baseboards or quarter-round molding.
❌ And the One Thing NOT to Do:
Don’t Rush the Job.
It might be tempting to knock out the entire floor in a day—but rushing can lead to misaligned planks, uneven cuts, or skipped prep steps. Take your time, plan your layout, and check your work as you go.
🚫 Avoid: Starting late in the day, skipping breaks, or forcing planks together when they’re not locking cleanly.
DIY-ing your floors is totally doable, especially with Flooret flooring that’s designed with homeowners in mind. With a little patience, the right tools, and the tips above, you’ll be walking on your brand-new floors in no time.
Got questions before you start? Be sure to visit our FAQs or reach out to our team—we’re here to help make your project a success!
